MailDirect Help
Delete Recipients
Delete Recipients
To delete recipients from lists using the Delete option:
- In the Action section, select the Delete option.
- MailDirect displays the options to delete recipients.
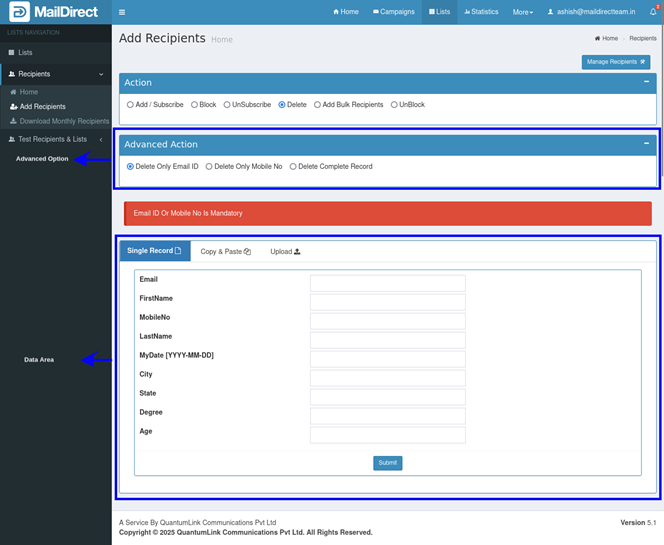
Figure : List Management- Delete Recipients
Table : Deleting Recipient
|
Field |
Description |
|
Advance Action |
|
|
Advance Action |
Select either Delete Only Email ID, or Delete Only Mobile No or Delete Complete Record according to which recipients are to be deleted. If the Delete Complete Record Action is selected, add an Email ID, according to which the complete record will be deleted. Note: The recipient’s data should contain the detail corresponding to the option selected in Advanced Actions. |
|
Data |
|
|
Data Area |
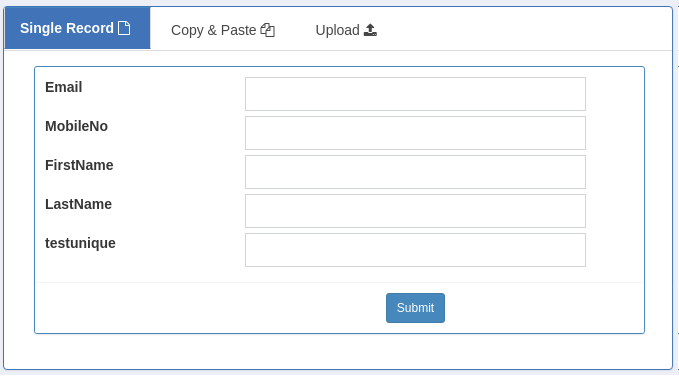
The available tabs are explained below, Single Record: Click this tab to enter the data for a single recipient. If this tab is selected, the options for the Single Record tab will be displayed in the Data Area.
Figure : Delete Recipients - Data Area with the Options For the Single Record. Note: By default, the Single Record tab is selected. The available options are explained below, Field Names: it will drag and drop to change fields order from fields list. Copy - & - Paste: If this tab is selected, the options for the Copy - & - Paste tab will be displayed in the Data Area.
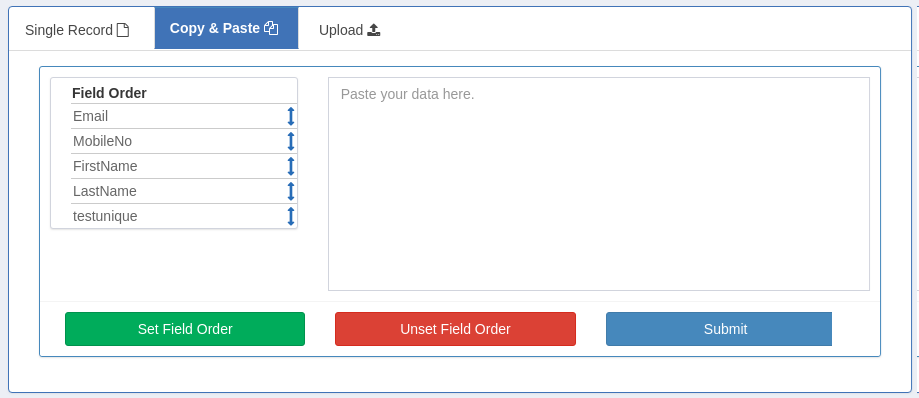
Figure : Delete Recipients - Data Area with the Options For the Copy-&-Paste The available options are explained below, Field Names: it will drag and drop to change fields order from fields list. Text Area: Copy and paste or type the recipient’s data in the CSV format according to the order for the corresponding field name. Note: Press Enter key after filling in the last field of recipient data to enter data for the next recipient. The last field of the recipient data should not be followed by a comma, if data is to be entered for more than one recipient. Upload: Select: This tab to upload the CSV file with the recipient’s data. If this tab is selected, the options for the Upload tab will be displayed in the Data Area.
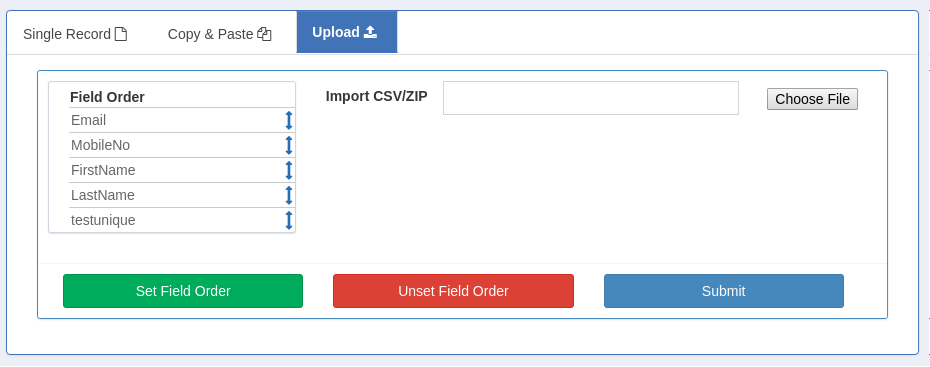
Figure : Delete Recipients - Data Area with the Options For the Upload The available options are explained below, Field Names: it will drag and drop to change fields order from fields list. Browse: Enter the location of the file or click Browse to go to the location of the CSV file and attach an appropriate CSV file, or a ZIP file with the CSV inside. Custom Field Order: The User can set custom field order as well unset Custom field order. This order will be displayed in future. Click on button provided use to set custom field order or unset custom field order.
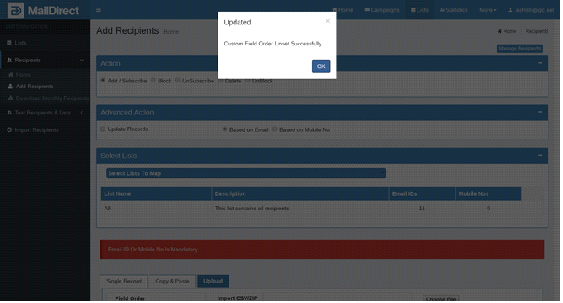
Figure : Set Custom field order – Successful message
Figure : Unset Custom field order – Successful message Note: The order of the fields in the attached CSV file should be according to the order for the corresponding field name.
After clicking the Submit button, MailDirect displays the List Management > Deleting Recipients popup screen.
Figure: List Management > Delete Recipients Alert Message Note: The recipient uploading process runs in the background, and the user is redirected to the Home page, allowing them to continue working on other tasks without interruption. After the background process is completed, an "Upload Successful" popup is displayed.
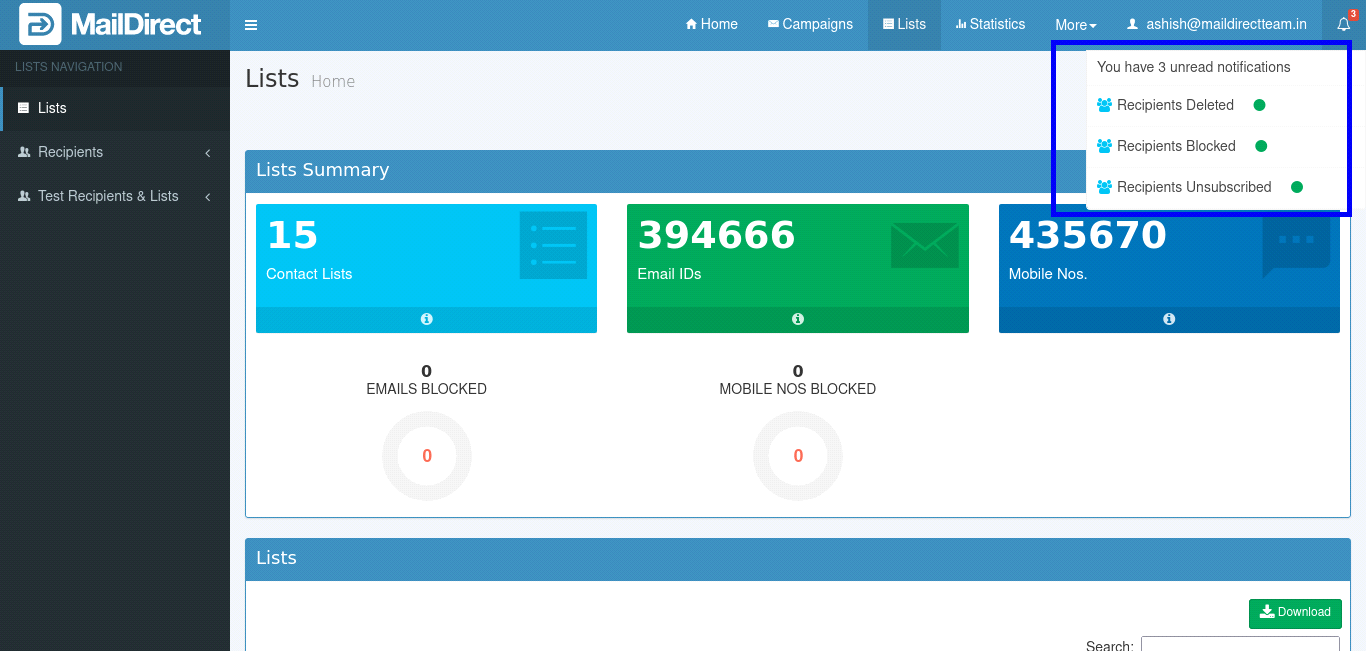
Figure : Upload Successful > Alert Message After the process is completed, the notification is updated, as shown in the figure below.
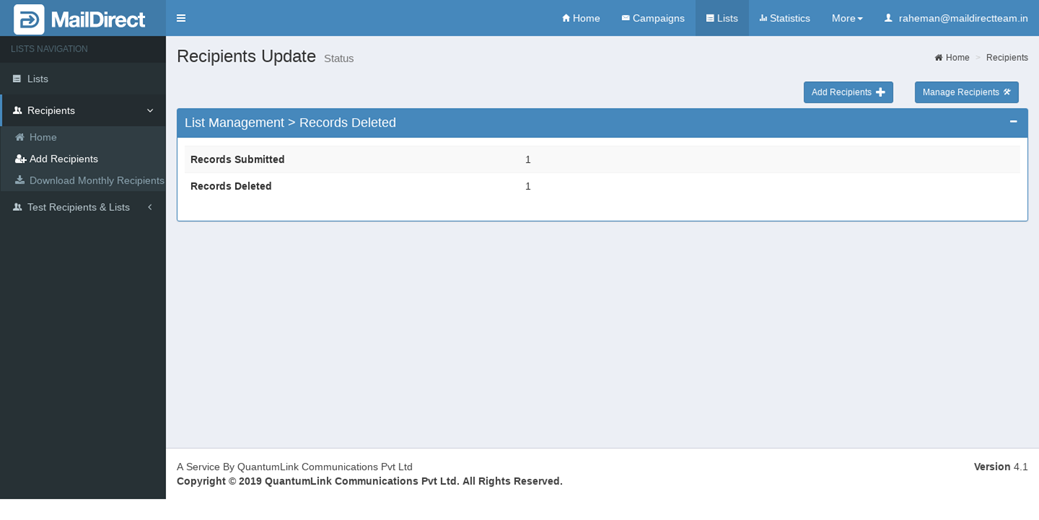
Figure : Notification > Delete Recipients After clicking the notification link, MailDirect displays the List Management > Records Deleting screen.
Figure : List Management > Display Recipients deleted |